Before we begin, let’s talk about what Hardware Acceleration is, and why it would be a good idea to disable it. Your computer has to perform multiple tasks, like playing videos, running games, or displaying images. However, certain hardware components are better suited to perform specific tasks, compared to others. For example, GPUs are better at playing videos, while CPUs are better when it comes to running general-purpose programs.
When Hardware Acceleration is turned on, your computer uses these specific hardware components to perform specific tasks. Reducing overall load and making more balanced use of the capabilities of integrated Hardware Elements. However, this feature can raise multiple compatibility issues and might make your experience more sluggish.
Key Takeaways
- You should disable Hardware Acceleration when your PC becomes slow and fails to launch apps and browsers without freezing.
- You can disable this feature in Windows in two different ways. One is through Settings, and the other is through the Registry Editor.
- For Google Chrome, you can disable it by accessing System Settings.
- When it comes to Discord, you can disable the feature through the Appearance option in App settings.
- Microsoft Edge makes things easier. You can disable the feature by simply searching it the Settings.
- You can disable the scheduling of this feature through the Graphics Settings in Windows.
Why Disable Hardware Acceleration?
Enabling Hardware Acceleration should improve the performance of your PC, in theory. However, at certain times an app with this function enabled may stop responding, or the video playback might freeze, among other problems.
Since each user’s PC is different and has different hardware components, the problem of running the fully functioning app may be associated with Hardware Acceleration. At that point, it would be wise to turn off this feature and see if your PC runs more smoothly.
How to Disable Hardware Acceleration in Windows?
Disabling Hardware Acceleration in Windows is recommended when day-to-day tasks like opening files, playing videos, or launching applications become slow. There are two methods of doing so, and both are quite simple, so just follow the steps listed below!
Method 1
- Press Win, and search for Settings.

Open Settings - After that, click on System.
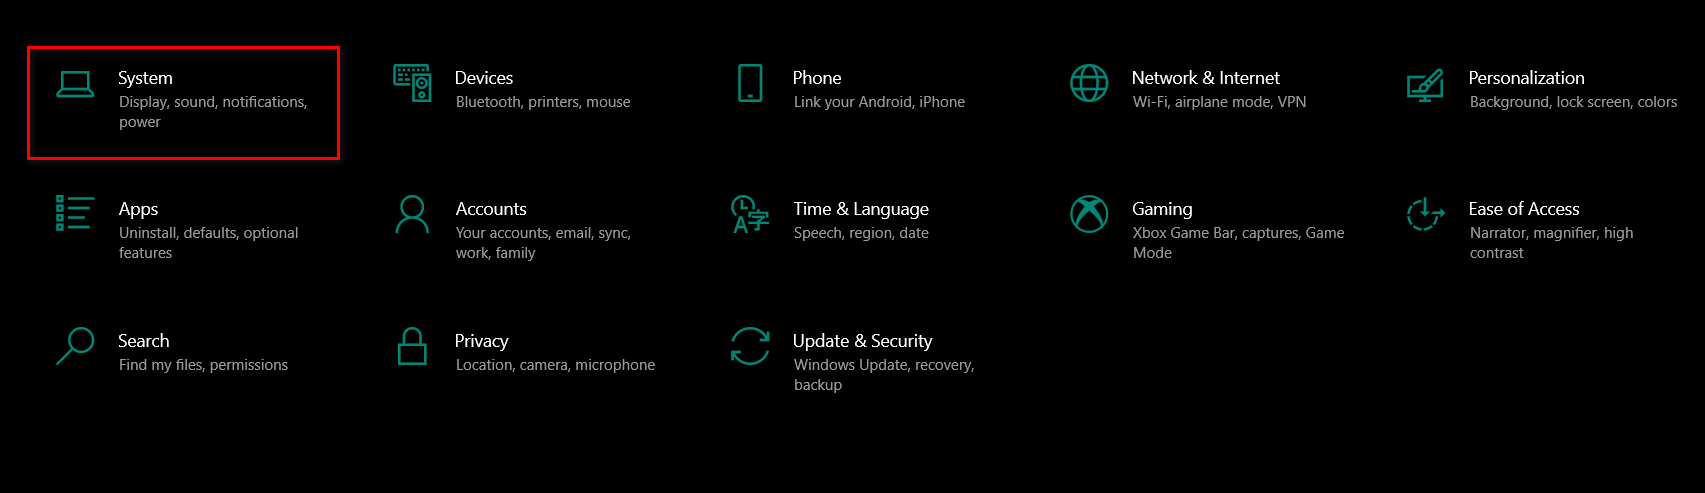
Open System Settings - After that, you will automatically be in Display Settings. Now, find Advanced Display Settings. It will be on the bottom.
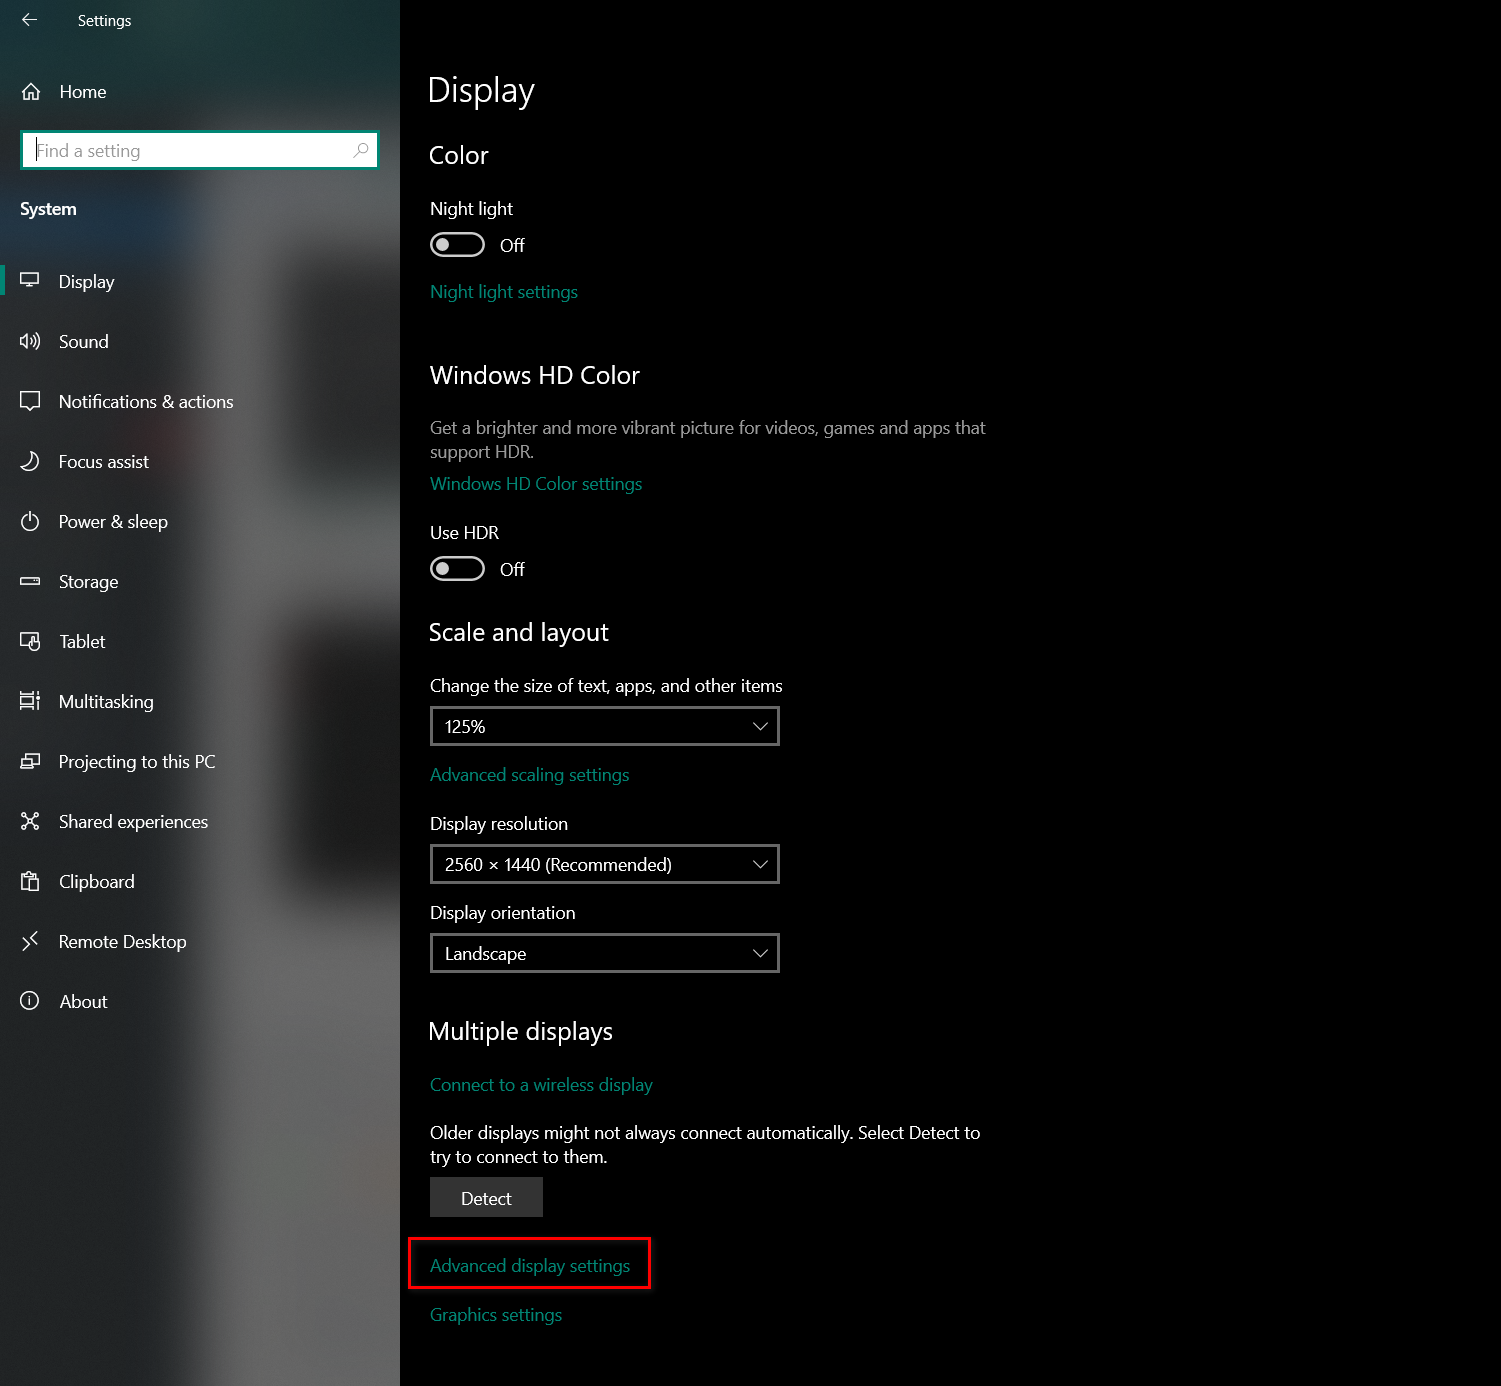
Navigate to Advanced Display Settings - After that, click on Display Adapter settings.
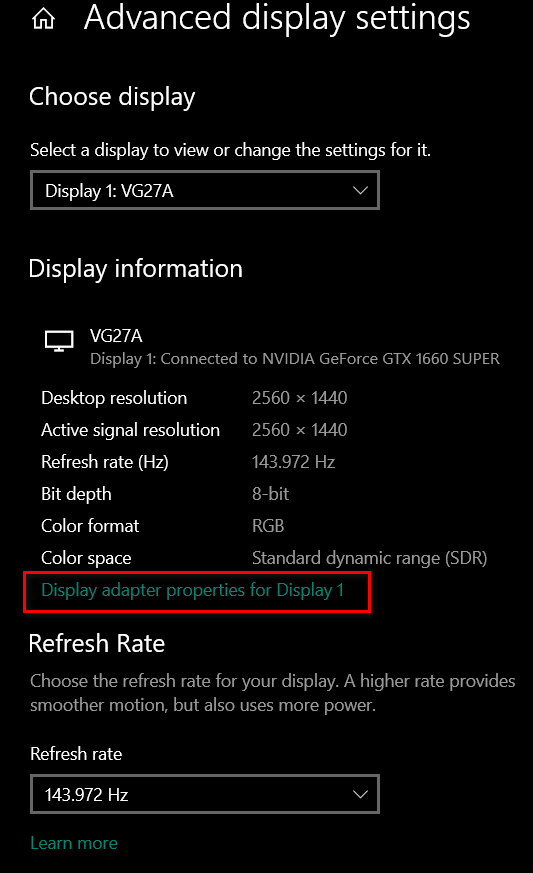
Click on Display Adapter Properties - Next, Click the Troubleshoot Tab, which sits beside the Color Management Tab.
- You will be greeted with the Hardware Acceleration section. Just move the pointer fully towards the left and Press OK.
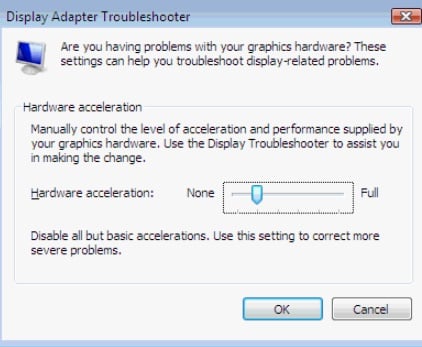
Disable Hardware Acceleration - Restart your PC.
Now that you are done with all these steps, simply start using your PC again and feel the difference. We are positive that the experience will be much better.
Method 2
This method is more suited for people that are a bit more tech-savvy. You will be required to open the Registry Editor of your PC, which is relatively a bit more complicated.
- Press Win + R. This will access the Run application of your PC.
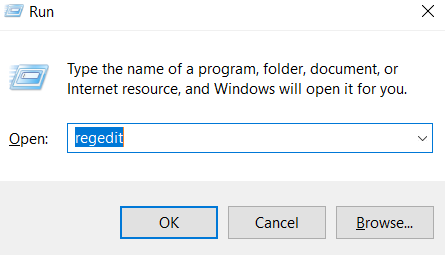
Open Run - Next, enter regedit, and press OK.
- You will be greeted with a “Do you want this app to make changes to your devise?” message. Press Yes.
- The Registry Editor will have a design like it’s from the 1980s but there is no need to be intimidated. Just find HKEY_LOCAL_MACHINESYSTEMCurrentControlSetControlGraphicsDrivers on the left side of the screen.
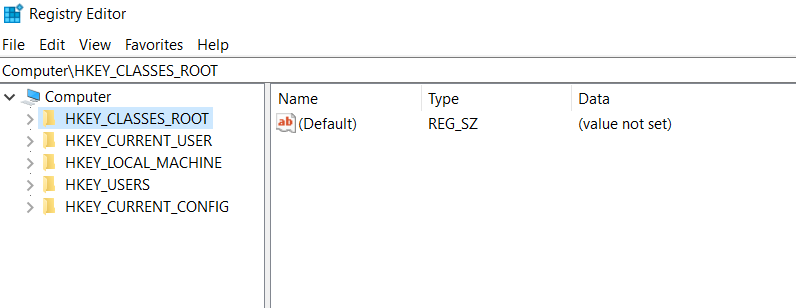
Registry - Next, right-click on GraphicsDrivers and then click on New > Dword(32) Value.
- Set the Value name to be DisableHWAcceleration.
- Set the Value Data as 1.
- Set the Base to Hexadecimal.
- Click OK and close the editor.
- Restart your PC.
We are confident that either one of these two methods will work for your device.
For Google Chrome
In Chrome, boosting Hardware Acceleration means your PC will use your GPU to handle playing games, or streaming videos. However, this often causes Google Chrome to freeze, and in some cases, even crash. This also reduces the battery significantly, if you are using a laptop.
Disabling this feature on Google Chrome is quite simple, and the steps are listed down below.
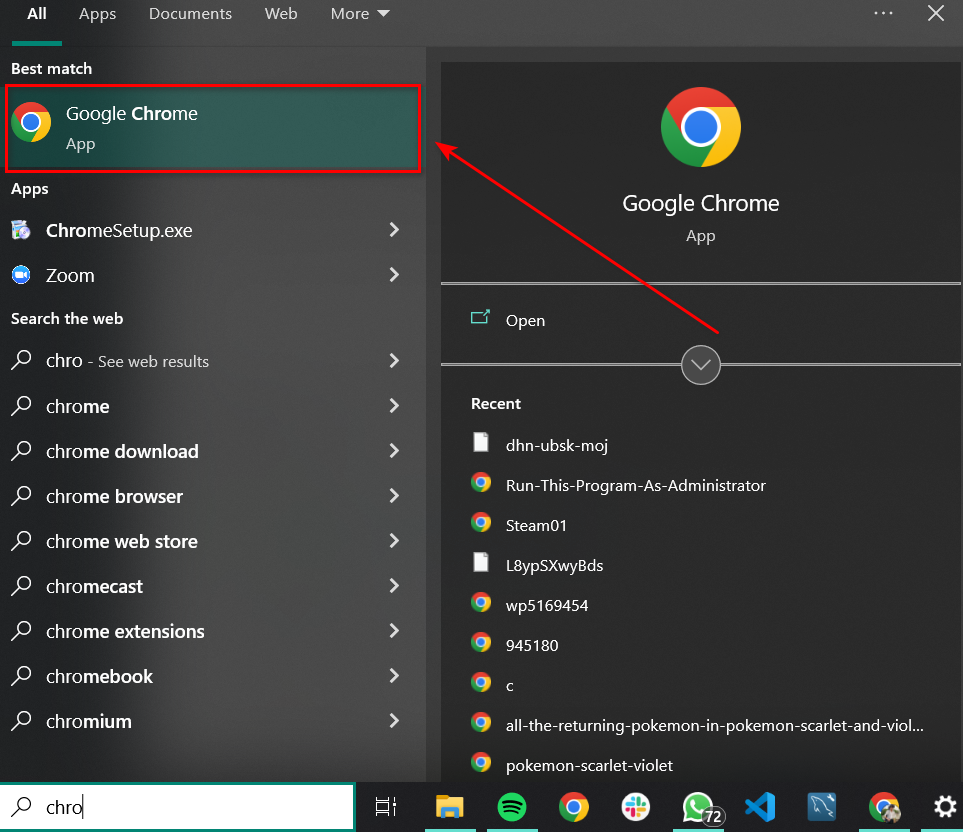
- Press Win, and search for Google Chrome, to fire it up.
Open Chrome - Next, find the Options for Google Chrome on the right-hand side of your screen. It will be right next to your profile picture. It is represented by 3 dots.

Options for Google Chrome - Next, after hovering on this options icon, you will be presented with all the available options. Press Settings.
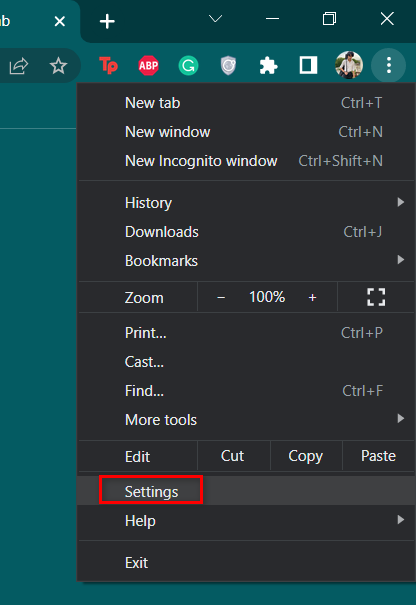
Settings for Google Chrome - After pressing Settings, navigate to the System option.
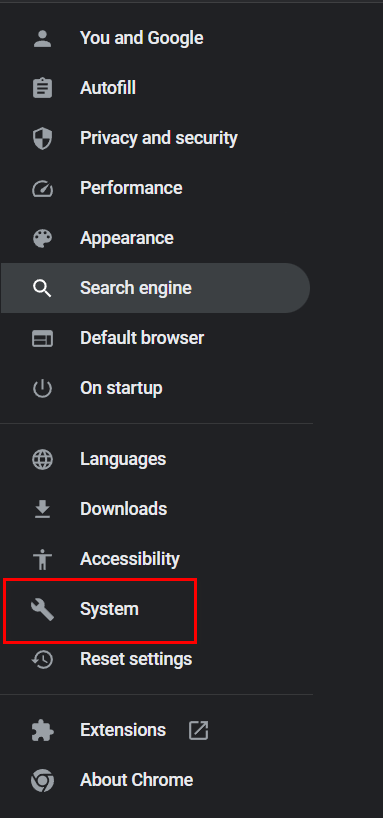
Access System in Chrome - You will be greeted with an option to Use Hardware Acceleration when available via a toggle bar. Press the toggle bar to disable it.
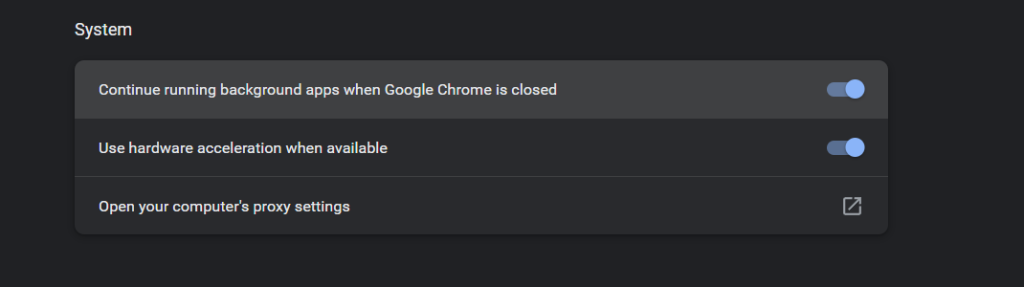
Disable Hardware Acceleration in Chrome
Now that you are done with all these steps, we recommend you close Chrome and fire it up again. We are sure this will make a difference, and your Browser performance will become smoother.
For Discord
Disabling Hardware Acceleration on Discord might increase the performance of your device significantly. Discord does not seem like much, but it consumes a lot of system power. It also automatically turns the app Overlay on once it is installed.
- Press Win, and search for Discord.
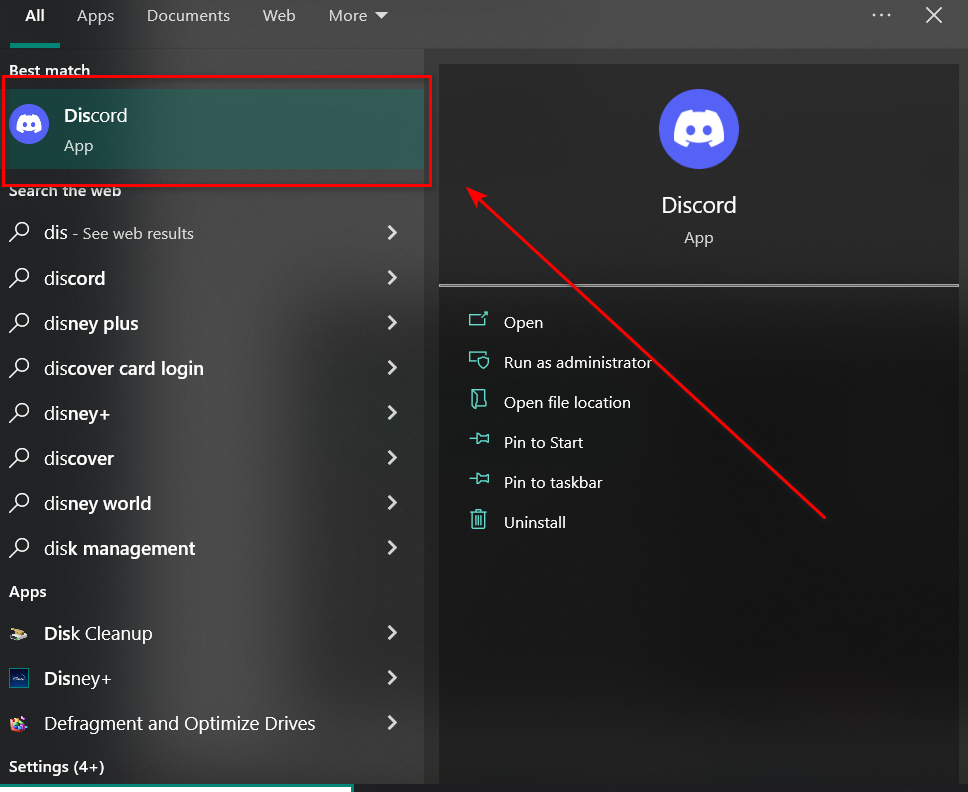
Open Discord - Next, open settings in Discord.
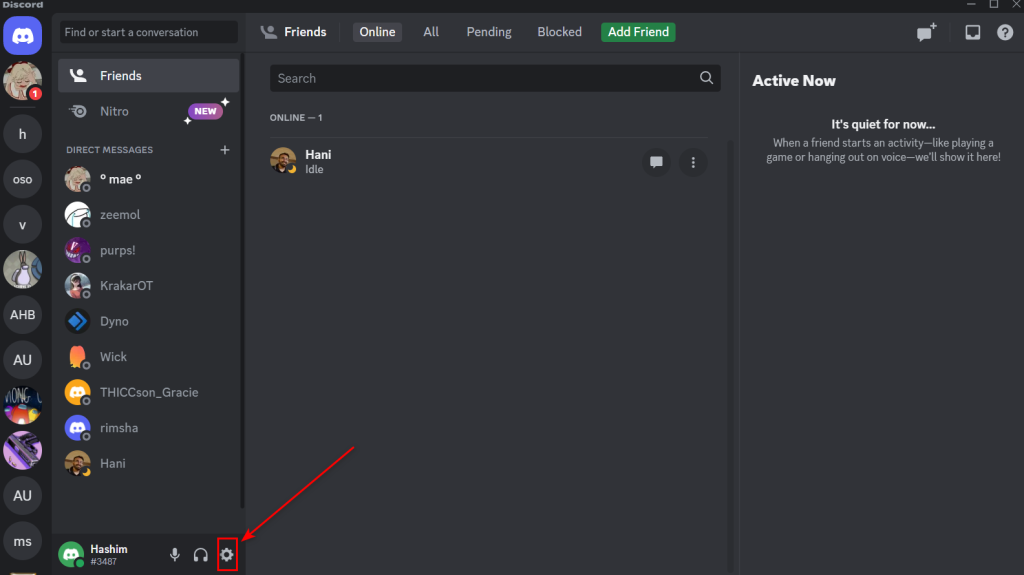
Open Settings - Next, navigate to Appearance. It will be under the App Settings section.
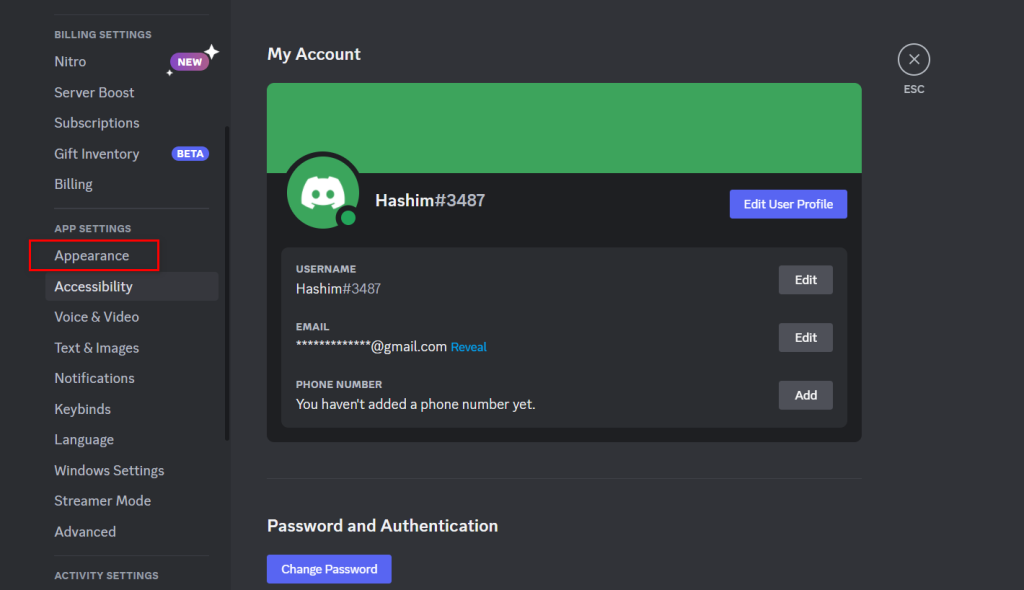
Appearance in Discord - Next, you will locate the Hardware Acceleration toggle bar down at the bottom. Simply switch it off.
- Press Okay when Discord asks you to confirm.
You are all set; we are confident this will fasten up your PC if Hardware Acceleration in Discord was the issue.
For Microsoft Edge
Disabling Hardware Acceleration in this browser is the easiest of them all. With a few simple steps, you will be done.
- Firstly, press Win and search for Microsft Edge.
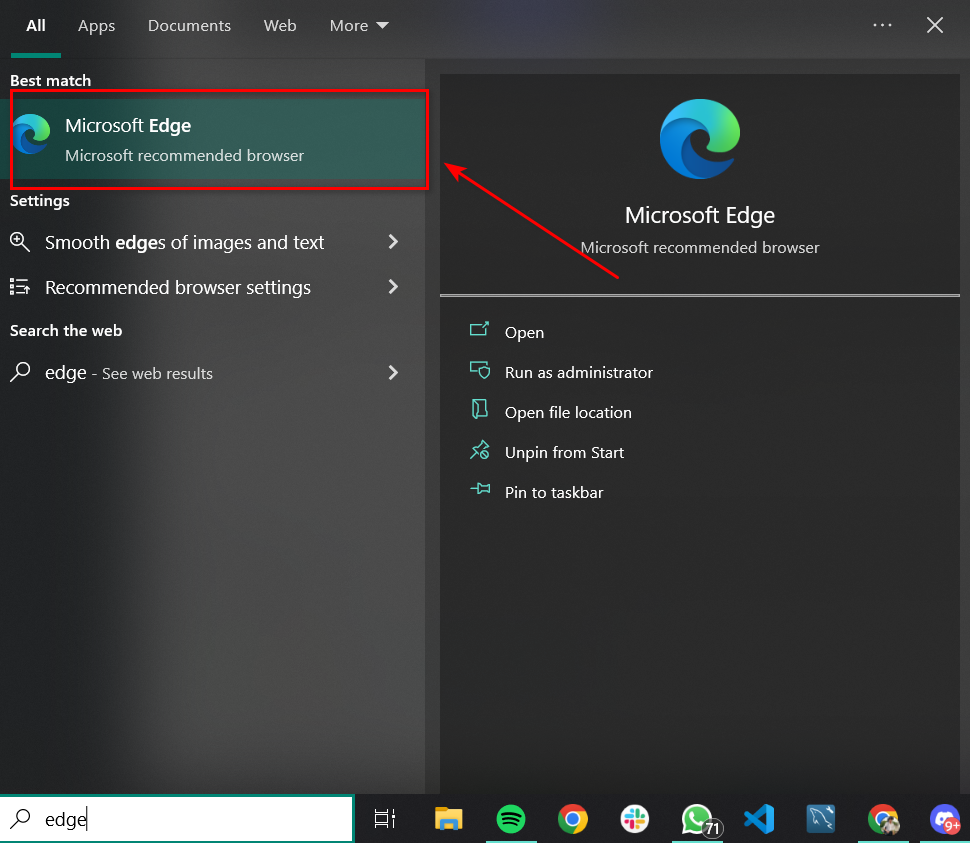
Open Microsoft Edge - Next, locate the options icon on the right side of the screen, represented by 3 dots.
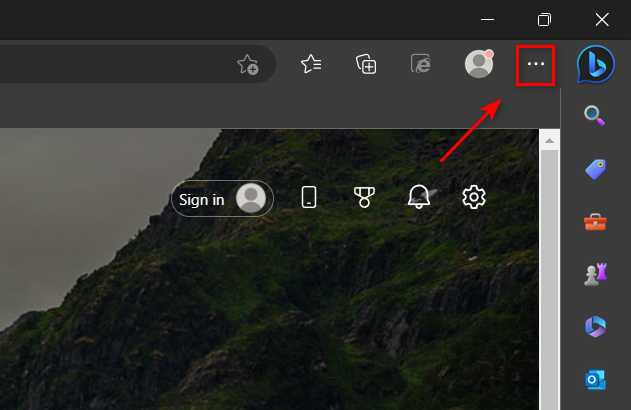
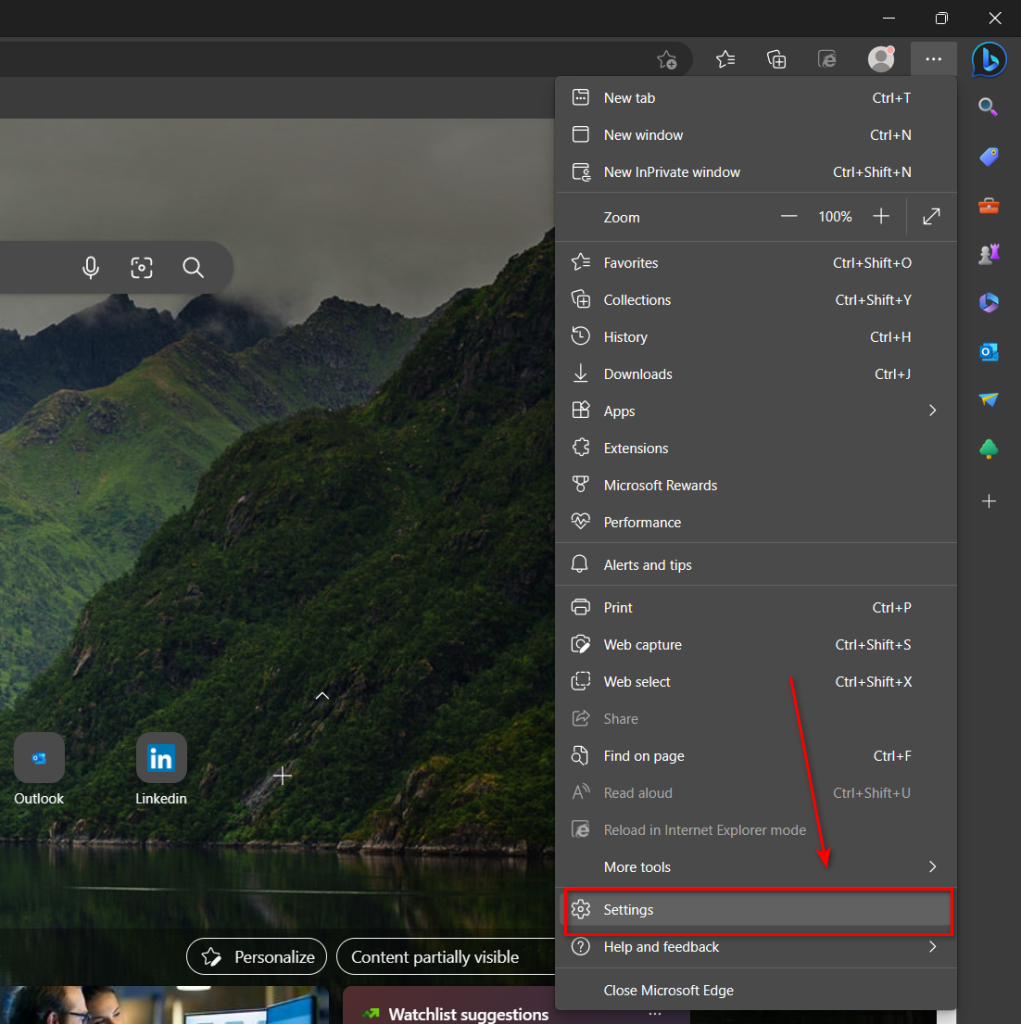
Options in Edge - Once you are done with that, an array of options will appear. Select Settings. This will open a new tab with all settings in Microsoft Edge.
Open Settings in Microsoft Edge - Now, all you need to do is search Hardware Acceleration in the settings. A toggle bar will appear, and it will allow you to Disable Hardware Acceleration. Simply press it to disable it.
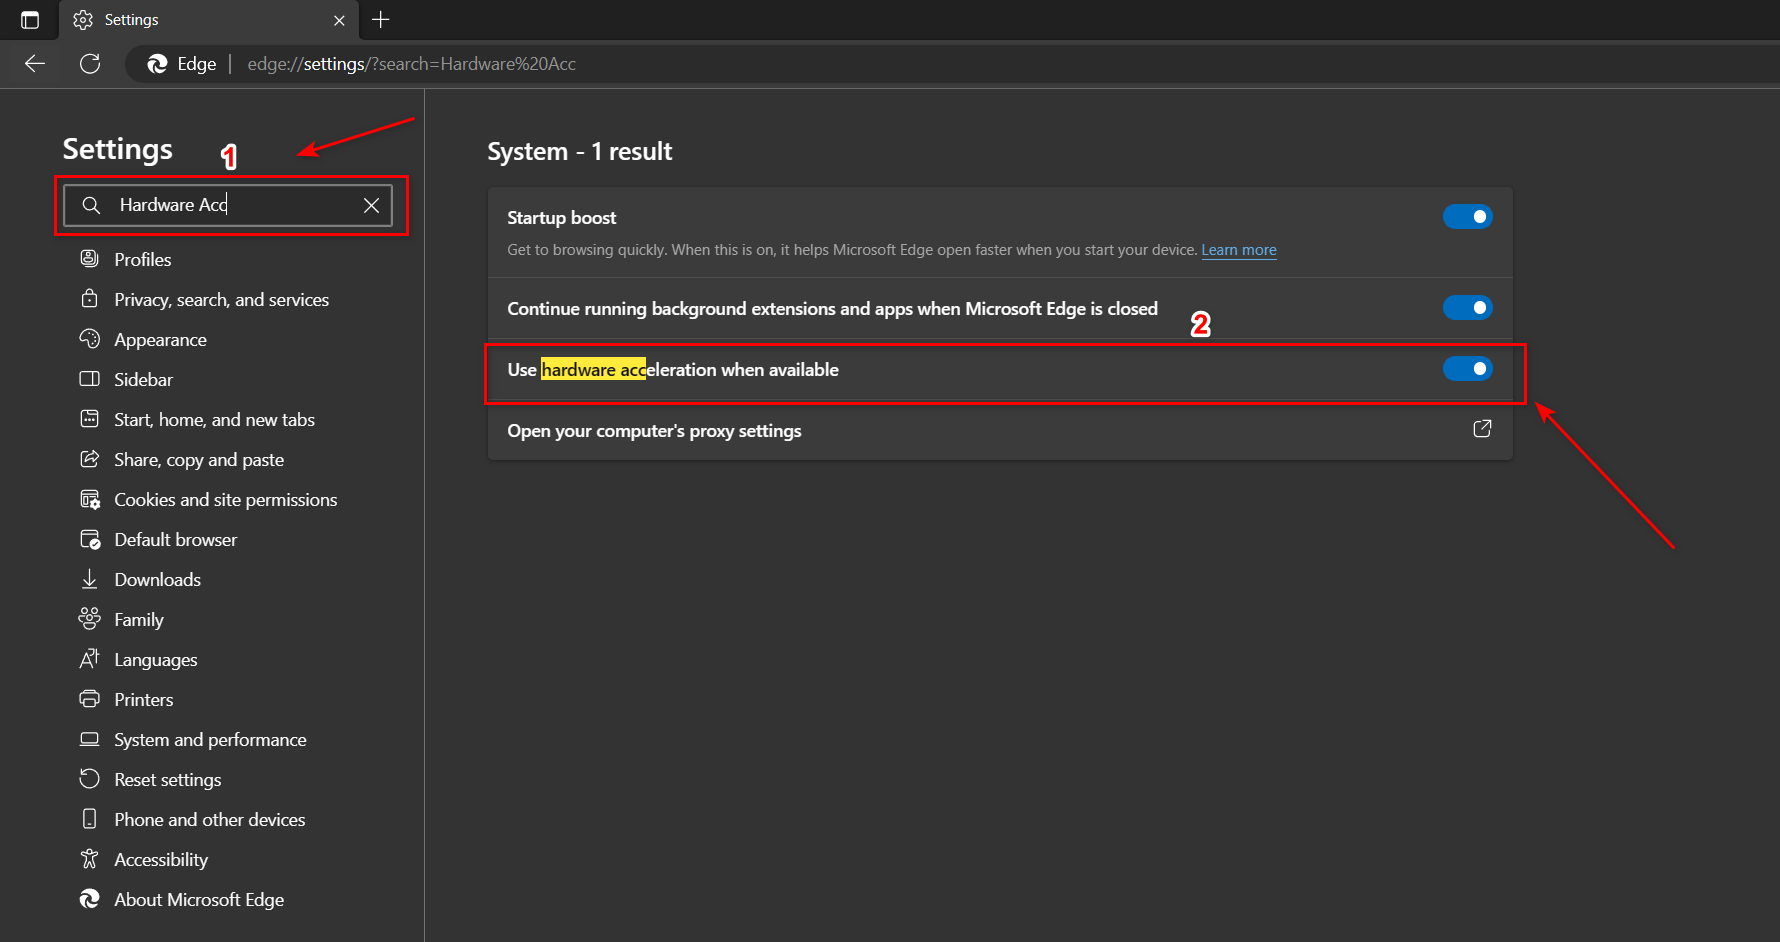
Disable Hardware Acceleration in Microsoft Edge
With these simple steps, you can disable this feature in Microsoft Edge.
Disabling Hardware Accelerated GPU Scheduling in Windows
This feature allows the GPU to effectively schedule its tasks, without interference from any other hardware component. This reduces the time it takes to process each task, and also helps in improving system response time.
However, there are many reasons like compatibility issues, increased power consumption, and Performance Issues that arise once you turn this feature on. Personally, it made my PC slow when I enabled it, and disabling it made my PC a lot faster.
- Press Win and search for Settings.
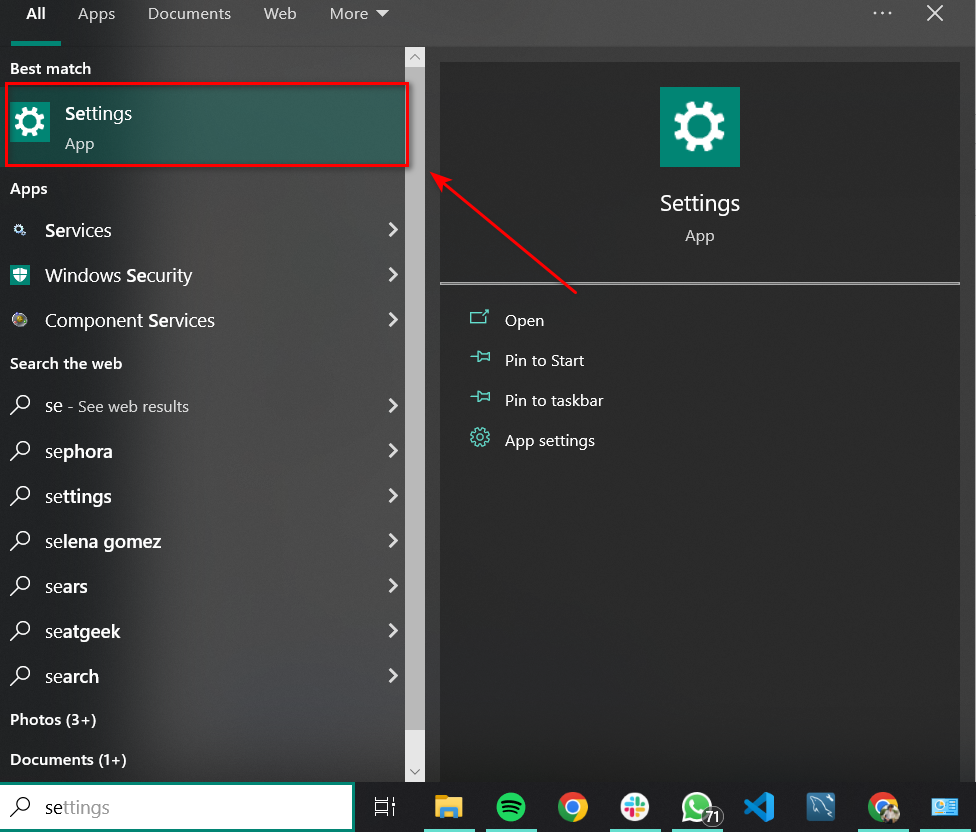
Open Settings - Next up, click on System.
- After that, you will automatically be greeted by all Display Settings. Scroll down below, and you will find the Graphics Settings option.
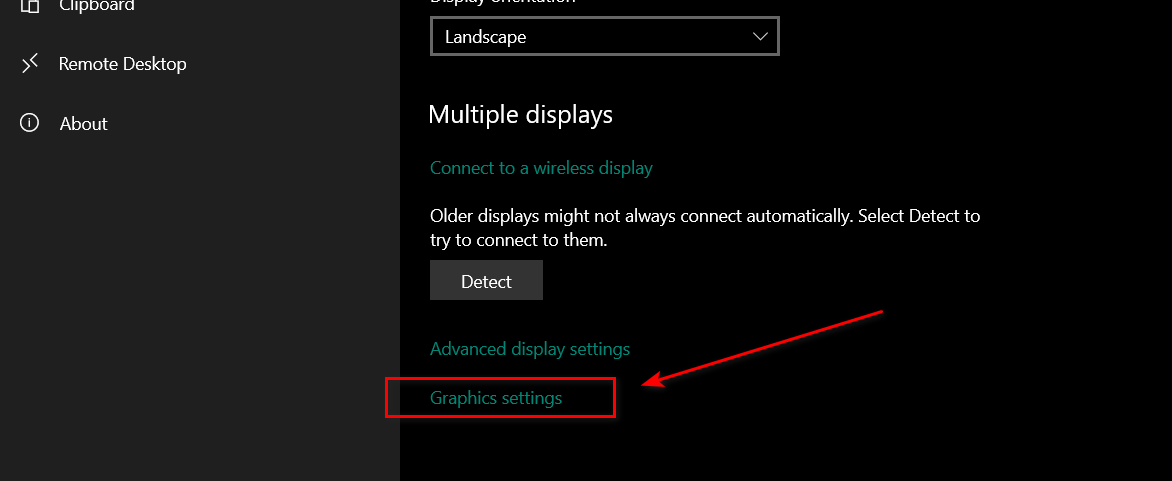
Open Graphics Settings - Finally, you will see the Hardware-Accelerated GPU scheduling option. Click the toggle bar to disable it.
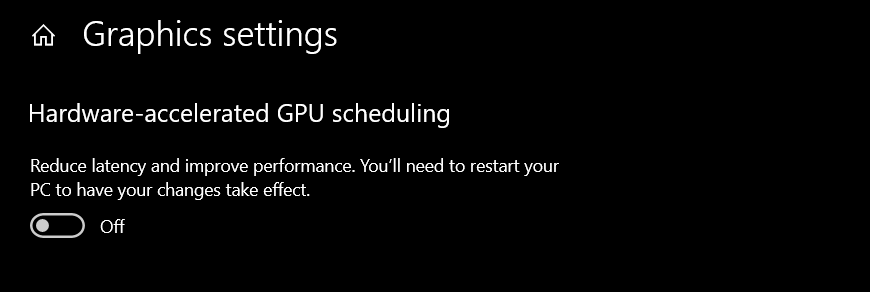
Disable Hardware Accelerated GPU Scheduling in Windows - Restart your PC.
Once restarted, you will see a massive difference in performance.
Final Words
We have addressed almost every way to Disable Hardware Acceleration on all common platforms. We are sure that if your PC was facing performance issues, disabling this feature is the way to go. If we missed any platform, do let us know in the comments below!
Encountering errors like these can be very frustrating. If you frequently encounter these types of errors, we recommend going through our Error Guides. Also, if you are an avid gamer, and you want to boost game performance, check our Best Settings Guides.
Frequently Asked Questions
Does turning off Hardware Acceleration improve performance?
Every PC and its combination of Hardware Elements is unique. If your PC is lagging in launching simple apps and browsers, disabling this feature might improve your system’s performance.
Does Hardware Acceleration affect RAM?
Yes, your apps consume more RAM when Hardware Acceleration is enabled.
If my PC is not lagging, should I still disable Hardware Acceleration?
No, if your PC is working fine, we recommend keeping this feature enabled, since its main purpose is to boost performance.
Was this article helpful?
Thanks! Do share your feedback with us. ⚡
How could we improve this post? Please Help us. ✍