Whether you want to find the correct hardware upgrade for your computer or want to fix an issue, knowing about your computer model name can come in handy in various situations. Here are 6 quick ways to check your computer model name on Windows.
1. Using the Settings App
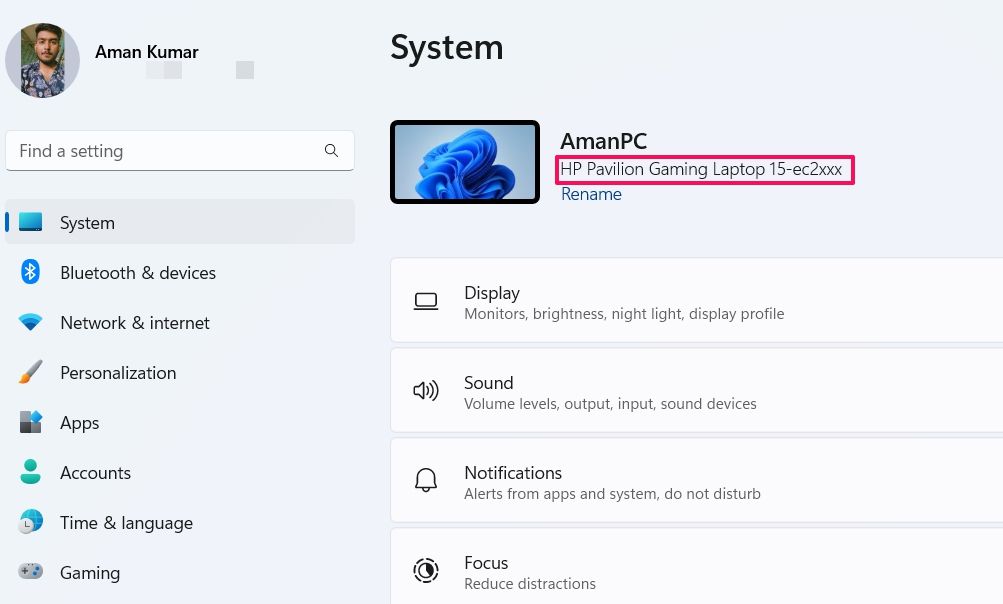
The quickest way to check your computer model name and number is through the Settings app. Simply, launch the Settings app (see how to open the Settings app on Windows) and choose System from the left sidebar. You’ll see your computer model name at the top of the System window.
2. Using the System Information App
The System Information is the go-to place to check your system information on Windows 11. You can use it to know about your computer’s hardware resources, components, and software environment.
To see your computer model name using the System Information app, follow the below instructions:
- Press the Win + S hotkeys to open Windows Search.
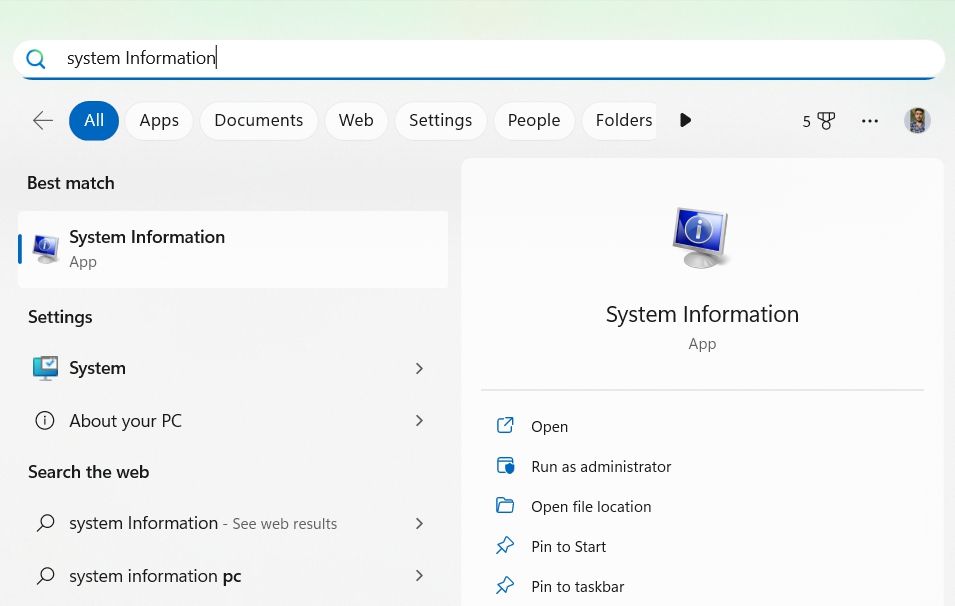
- In the search bar, type System Information and choose Open from the right pane.
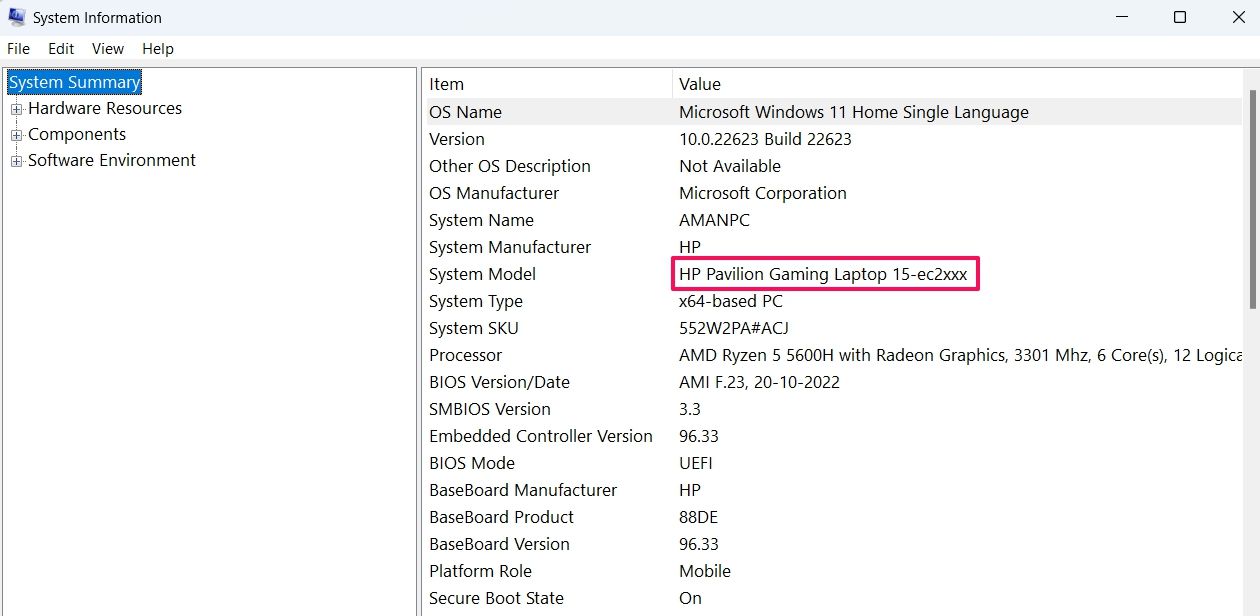
- Choose System Summary from the left sidebar.
- Check the System Model row in the right pane to know about your computer model name.
The DirectX Diagnostic Tool contains information about the DirectX components and drivers installed on your computer. You can also use this tool to get information like System model, BIOS, Processor, Memory, Page file, and more.
Here’s how to use the DirectX Diagnostic Tool to know about your system model name:
- Use one of the many ways to open the Run dialog box.
- In the text field, type dxdiag and click OK.
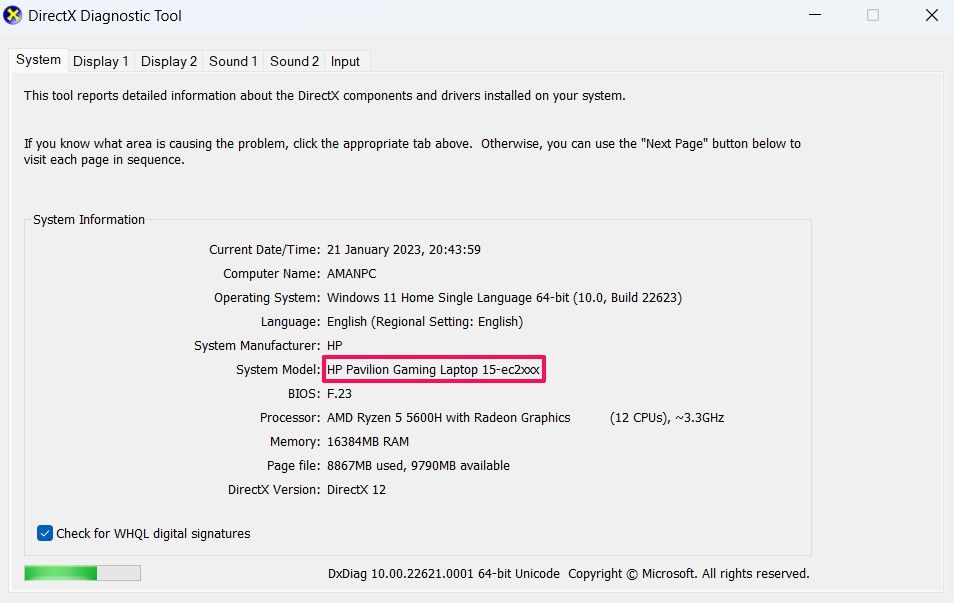
- Click the System tab in the DirectX Diagnostic Tool.
- Under the System Information section, you can check your computer model name next to the System Model option.
If you’re an advanced Windows user, you can use the command-line tools, Windows PowerShell and Command Prompt, to know everything about your computer. Here’s how to use the Command Prompt to check your computer model name:
- Open the Windows Search, type Command Prompt in the search bar, and press Enter.
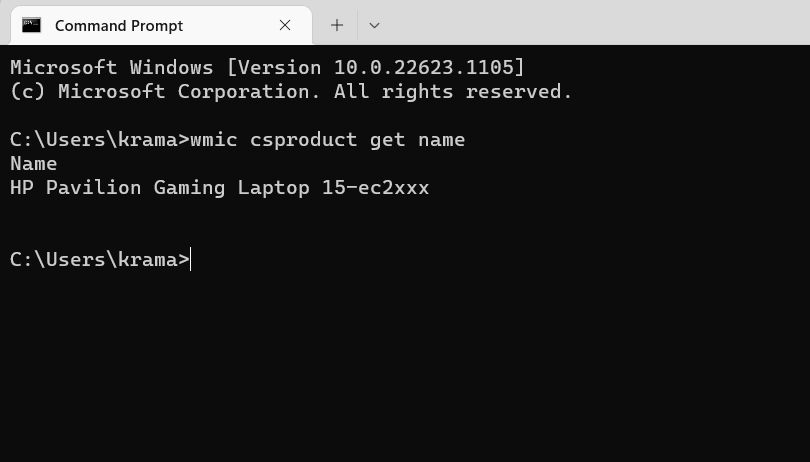
- In the Command Prompt window, type wmic csproduct get name, and press Enter.
You’ll see the model name on the console screen.
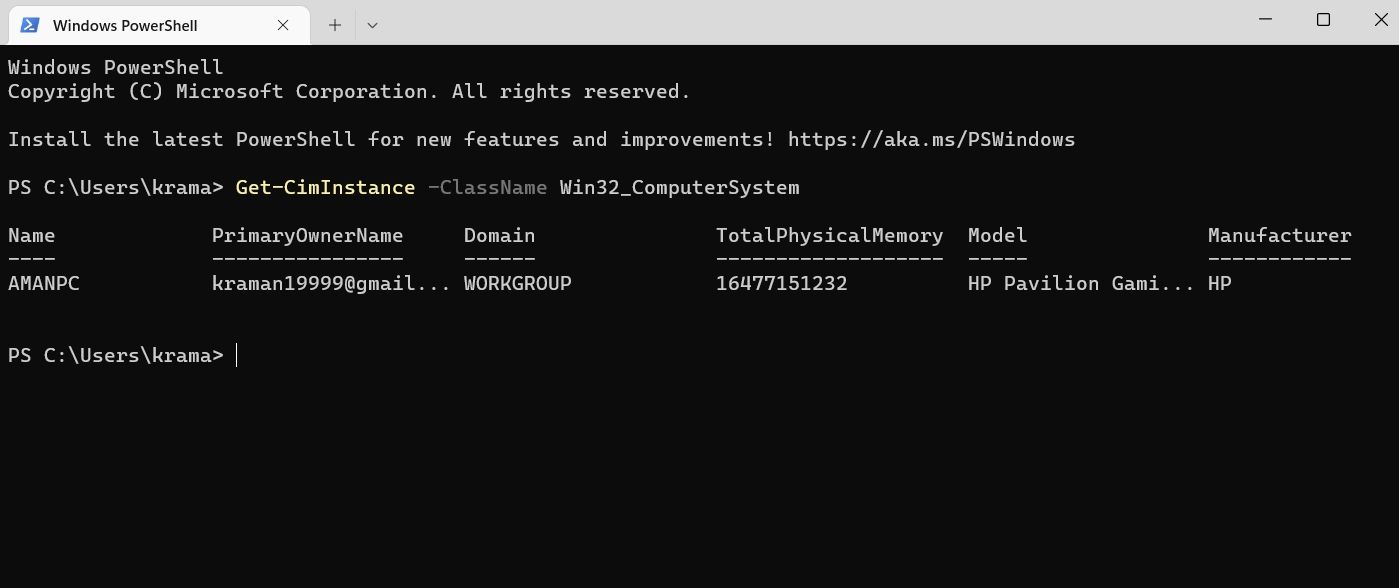
Now, to view the model name using Windows PowerShell, launch Windows PowerShell, type the following command, and press Enter.
Get-CimInstance -ClassName Win32_ComputerSystem
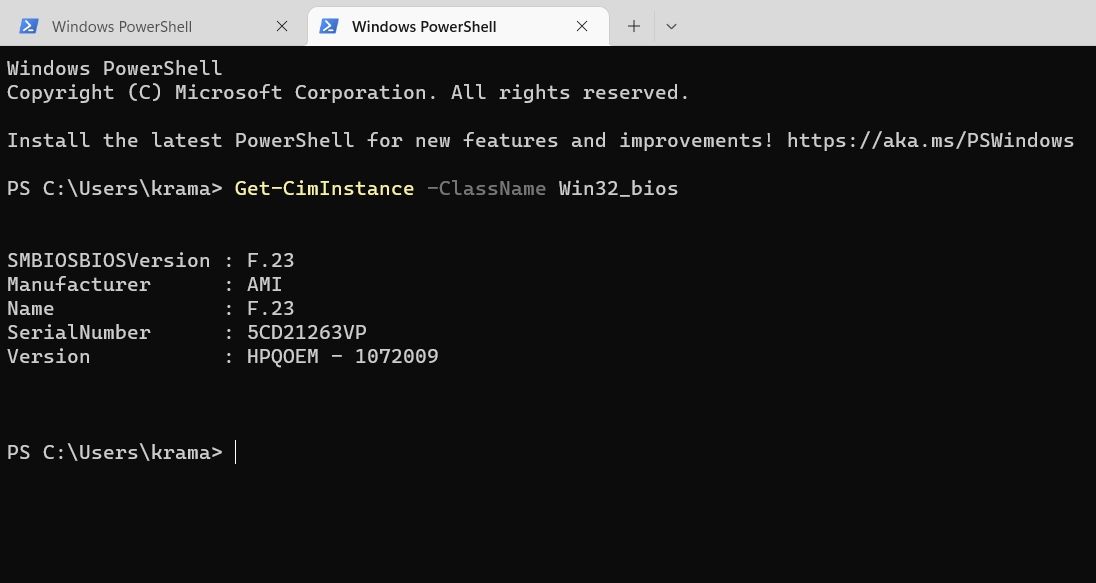
In case you want to check your computer serial number, execute the following command in the PowerShell window.
Get-CimInstance -ClassName Win32_bios
5. Using the Manufacturer’s Assistant App
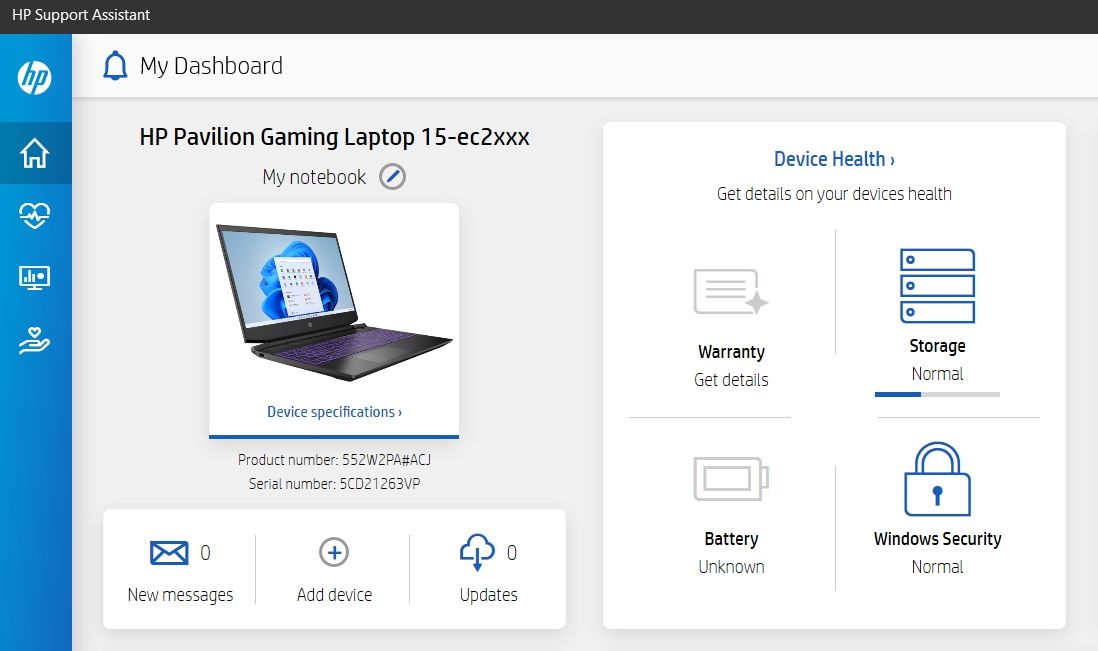
Most manufacturers nowadays offer an assistant app using which you can check your computer model name and number. For instance, if you’re using an HP laptop, you can download the HP Support Assistant app to know everything about your computer.
Similarly, you can download the assistant app of your manufacturer to check your computer’s name.
6. By Entering the BIOS
The Basic Input / Output System, aka BIOS, lets you configure basic computer settings like boot order, hardware components, and more. You can also use the BIOS menu to know every tiny detail about your computer.
Here’s how to enter the BIOS menu on Windows and check your computer model name:
- Open the Settings app, and choose Windows Update from the left sidebar.
- Choose the Advanced options.
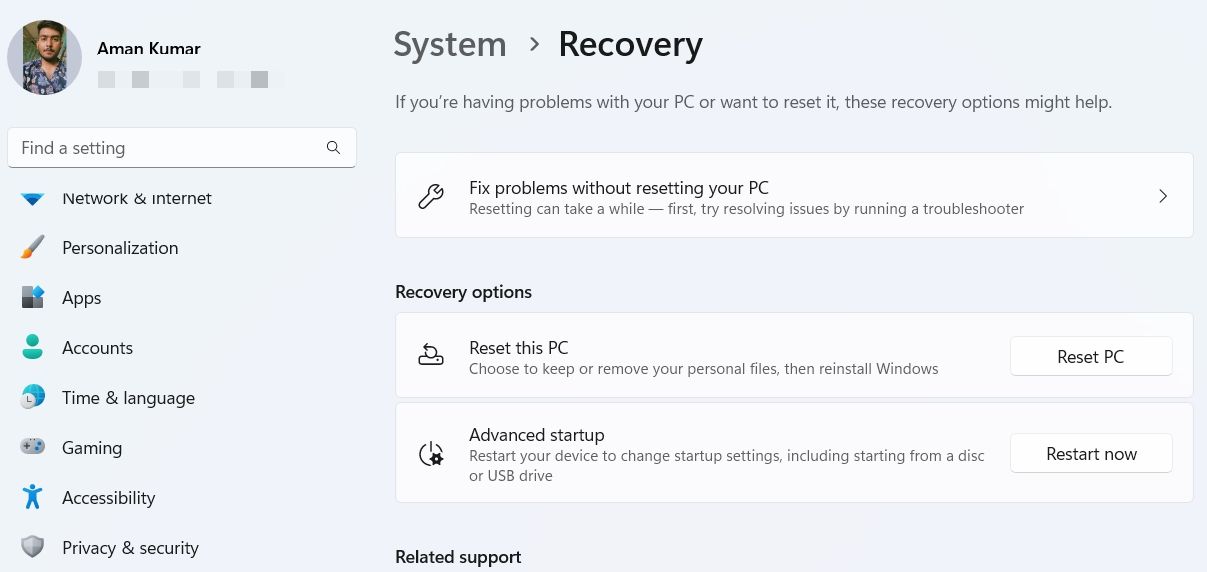
- Under Additional options, select the Recovery option.
- Click the Restart now button next to Advanced startup. Your computer will not boot into Recovery mode.
- Navigate to Troubleshoot > Advanced options > UEFI Firmware Settings > Restart.
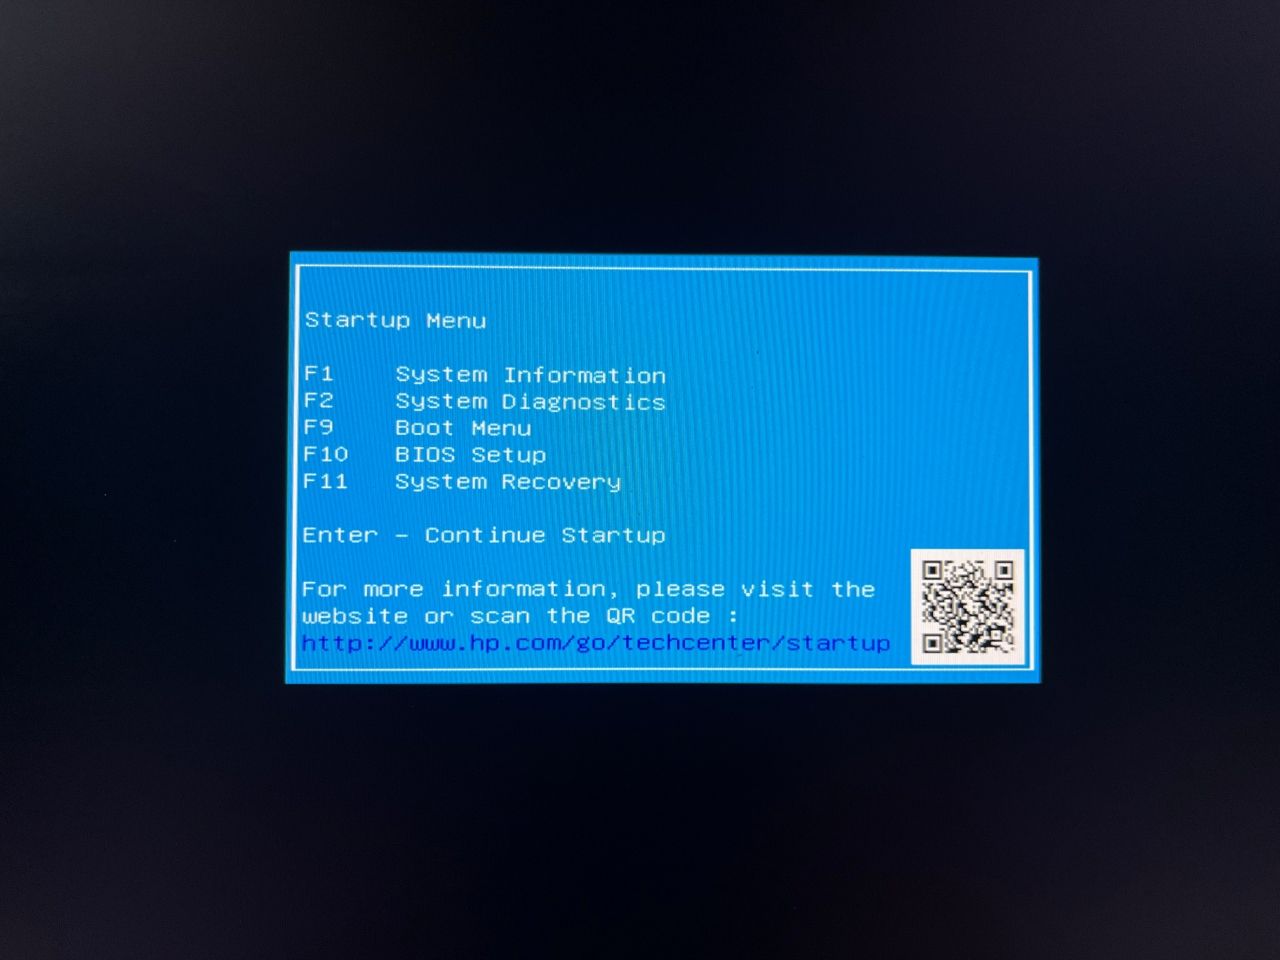
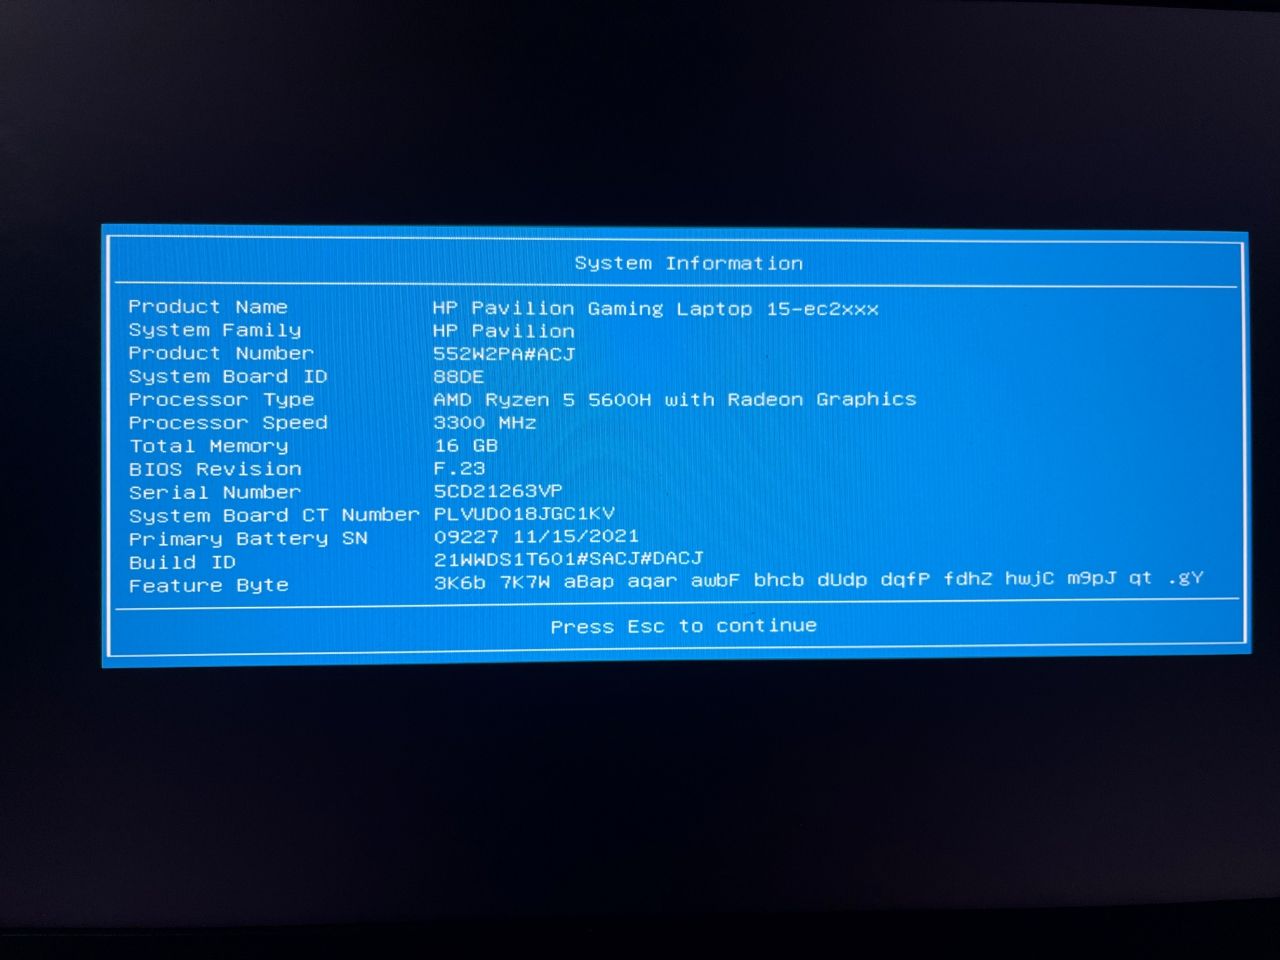
- Usually, your computer will now boot straight into UEFI BIOS. But in some manufacturers like HP, you’ll be welcomed with a Startup Menu. Choose System Information from the menu.
- You can check your computer name in the System Information section.
Get to Know Your Computer’s Model on Windows
These were all the working ways using which you can know your computer model name. However there are many other methods to check the name, but the ones mentioned above are among the quickest and easiest.
